


Canning Carrots at Home
- Marie Overton

- Oct 9
- 3 min read
Updated: Oct 15
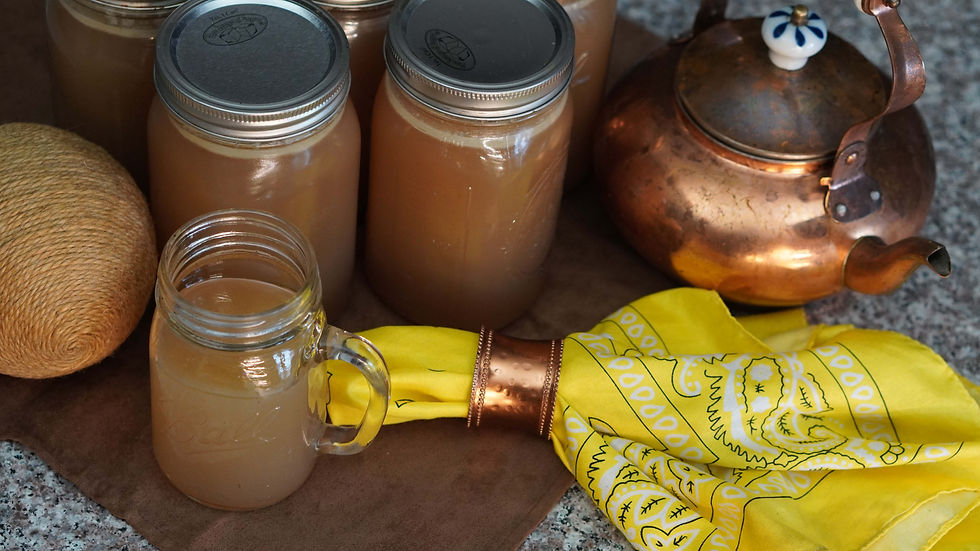
Canning fresh carrots is a great way to have perfectly softened carrots for soups, stews and even carrot cake or muffins. If you've harvested a great crop from your garden or found a good deal at your local farmer's market, you can turn that extra into easy to use canned carrots.
Why Can Fresh Carrots?
Canning fresh carrots lets you savor the taste of summer even during the coldest months. It is also a smart way to reduce food waste, save time and save money. Additionally, unlike many store-bought options that may contain preservatives and additives, your home-canned carrots will be pure, wholesome, goodness.
Preparing Your Equipment
Getting your equipment ready is essential for a smooth canning session. Gather these supplies:
Canning jars: Quart jars work well but pint could be used.
Lids and bands: Use new lids to ensure a proper seal, and check that bands are in good condition.
Pressure canner: This is critical as carrots must be pressure-canned for safety.
Jar lifter: This will safely help you handle hot jars from the canner.
Cutting the carrots
First, wash and peel all of the carrots

Then, Use a sharp knife to cut down them into 1/4-1/2 inch slices.
Filling the Jars
With your carrots ready, let’s fill the jars:
Pack the carrots into the jars, allowing 1 inch of headspace for expansion during processing.

Add 1 teaspoon of salt per quart jar.

Pour boiling water into each jar until the carrots are fully submerged, maintaining the headspace.
Eliminate air bubbles by sliding a chop stick around the inside of the jar.
Clean the rim of the jars with a cloth to ensure a good seal.
Secure the lids on the jars and screw on the bands until they are snug but not overly tight.
(For quality, American made Superb canning lids and jars follow this link and use the coupon code WP20 to get 20% off your purchase.)
Processing the Jars
Proper pressure canning is key for safety. Follow these steps:
Add hot water to the pressure canner according to the manufacturer’s guidelines. (Usually 3 quarts)
Position the jars inside the canner.
Seal the lid of the canner, and heat it on high until steam escapes from the vent. Allow it to vent for 10 minutes
Process at 10 pounds of pressure for 30 minutes if you are at sea level. If you need to know how altitude affects the amount of time you process your jars check out my canning basics video/post.

Turn off the heat, and let the canner cool naturally before you remove the lid.
Cooling and Storing the Jars
After processing, follow these steps to cool the jars:
After processing, allow to cool in the pressure canner with the heat off and the lid removed for 10 minutes.

At the end of the cooling time, carefully remove the jars and place them on a heat resistant surface about 1-2 inches apart.
Allow the jars to cool completely for 24 hours. You might hear a popping sound as the lids seal.
Check the seals by pressing down in the center of each lid. If it pops back, it hasn’t sealed properly.
Label each jar with the date and contents, and store them in a cool, dry, dark place. Properly sealed jars can last up to 3 years.

Tips for Success
Always follow safety rules: Use a pressure canner for low-acid foods like carrots to prevent foodborne illnesses.
Final Thoughts
Canning fresh carrots at home is a simple and fulfilling activity. With just a few easy steps, you can turn the sweet, crunchy flavors of summer into jars of goodness that can be enjoyed all year long. It’s a great way to make use of a bountiful harvest or a great sale at the market.


Comments