


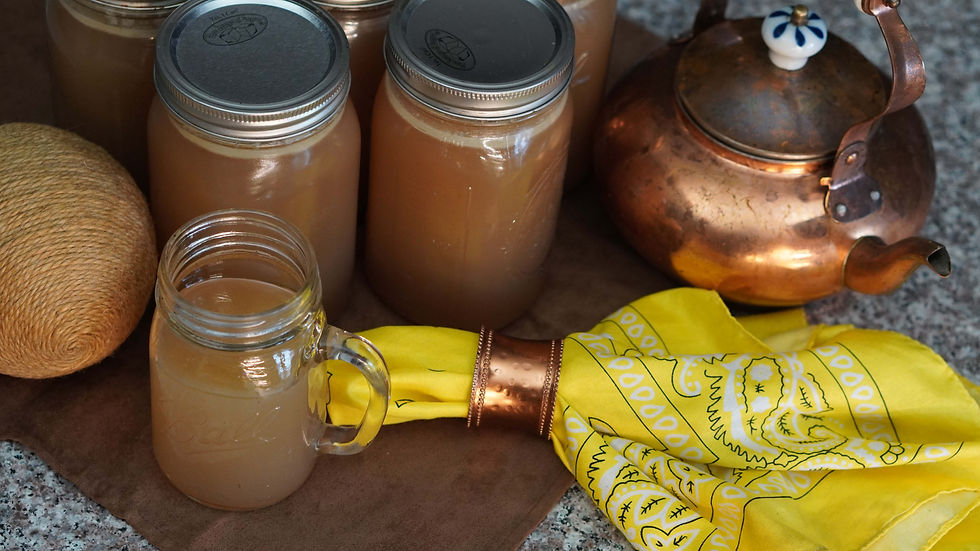
Canning Pumpkin at Home
- Marie Overton

- Oct 25, 2025
- 4 min read
Preserving pumpkin at home is an exciting way to capture the flavors of fall and savor this versatile ingredient all year long. Whether you plan to whip up pumpkin pie, savory soups, or delightful pumpkin bread, having canned pumpkin ready can simplify your cooking and bring a homemade touch to your meals. This post will take you through safe and effective steps for canning pumpkin, ensuring you can enjoy its flavor well beyond the harvest season.
Why Can Pumpkin?
Canning pumpkin not only boosts its shelf life but also gives you control over what goes into your food, skipping preservatives often found in store-bought varieties. Did you know that home-canned pumpkin can last up to 1-3 years when stored properly? Additionally, by using fresh pumpkins from your garden or local farmers' market, you’re supporting local agriculture and making a sustainable choice. There’s nothing quite like the satisfaction of preserving your own food.
What You’ll Need
Before diving into canning, gather these essential supplies:
Fresh pumpkins (opt for sugar pumpkins or pie pumpkins for best results)
A large pot for boiling water
Canning jars (quart size)
A pressure canner (critical for safe pumpkin canning)
A cutting board, peeler and knife
A ladle
A funnel (optional, but makes the process easier)
Preparing the Pumpkin
Choose the Right Pumpkin: Select sugar or pie pumpkins, known for their sweeter flavor and smoother texture compared to larger carving varieties.

Wash, Peel and Cut: Rinse the pumpkins under cool water to remove dirt. Cut them in half and scoop out the seeds and stringy insides. Peel off the skin and cut into 1 inch pieces.
Cook the Pumpkin: Boil the pumpkin pieces for 2 minutes.
Canning Process
Step 1: Prepare Your Jars
Ensure your jars are clean and hot. You can run them through a dishwasher cycle for this.
Step 2: Fill the Jars

Using a funnel, fill the jars with the pumpkin pieces, leaving one inch of headspace at the top. This space is crucial for a proper seal.

Add 1 teaspoon of salt to each jar. This helps to maintain flavor and color.

Finally, add hot water up to 1 inch of headspace.
Step 3: Seal the Jars
Use a plastic or wooden chopstick to de-bubble the jars.
Wipe the rims of the jars with a clean cloth to remove any residue. Place the lids on and screw on the bands until they are fingertip tight.
(For quality, American made Superb canning lids and jars follow this link and use the coupon code WP20 to get 20% off your purchase.)
Step 4: Pressure Canning
Place the filled jars in your pressure canner. Process the jars at 11 pounds of pressure for 90 minutes, at sea level. Following these timings and pressures helps eliminate any harmful bacteria.

Step 5: Cool and Store
After processing, turn off the heat and let the canner cool down naturally. Once it’s at zero pressure and the pressure indicator is down, remove the weight and then open the lid away from you. Allow the jars to cool for 10 minutes. Remove the the jars and let them cool completely on a heat resistant surface about 1-2 inches apart. Allow them to seal for 24 hours. Remove the rings and wash them with hot soapy water. Store them in a cool, dark place, where they can last up to 3 years.

Tips for Successful Canning
Use Fresh Ingredients: Always select high-quality pumpkins to ensure the best flavor and texture.
Check Seals: Once cooled, press the center of each lid. If it pops back, it hasn’t sealed! Store any unsealed jars in the refrigerator and use them within a few days.
Label Your Jars: Mark each jar with the date and contents. This habit helps you track what you have and when it was canned, making meal planning easier.
Common Mistakes to Avoid
Not Using a Pressure Canner: Remember, pumpkin is a low-acid food. It must be processed in a pressure canner to avoid the risk of botulism. Using a water bath method is not safe.
Overfilling Jars: Leaving enough headspace is key for a secure seal. Overfilling can prevent the jars from sealing properly.
Enjoying Your Homemade Pumpkin
Canning pumpkin at home is not just a practical endeavor; it’s a rewarding way to enjoy this seasonal delight throughout the year. With a few simple steps, you can create delicious pumpkin puree perfect for pies, soups, or any of your favorite recipes. Just remember to follow safety guidelines, especially when using a pressure canner, to ensure your canned goods are both safe and delicious.
Gather your pumpkins, roll up your sleeves, and embrace the joy of canning. You will be thrilled when you can savor homemade pumpkin treats, even in the warm days of summer.


Comments