


How to Make Pie Crust in Bulk
- Marie Overton

- Nov 26, 2020
- 3 min read
Updated: Aug 14, 2025
Arguably the hardest part of making a pie is the pie crust. To have made the crust ahead of time makes the pie-making process much easier. Homemade pie crust tastes so much better than the pre-made crusts from the store. I also love that I know exactly what is in it. This pie crust recipe can be used for everything from sweet pies like apple, peach, and cherry to savory pies like a chicken pot pie.
Ingredients
15 cups unbleached flour
6 tablespoons sugar
2 cups butter
4 cups coconut oil or shortening
3 cups cold water
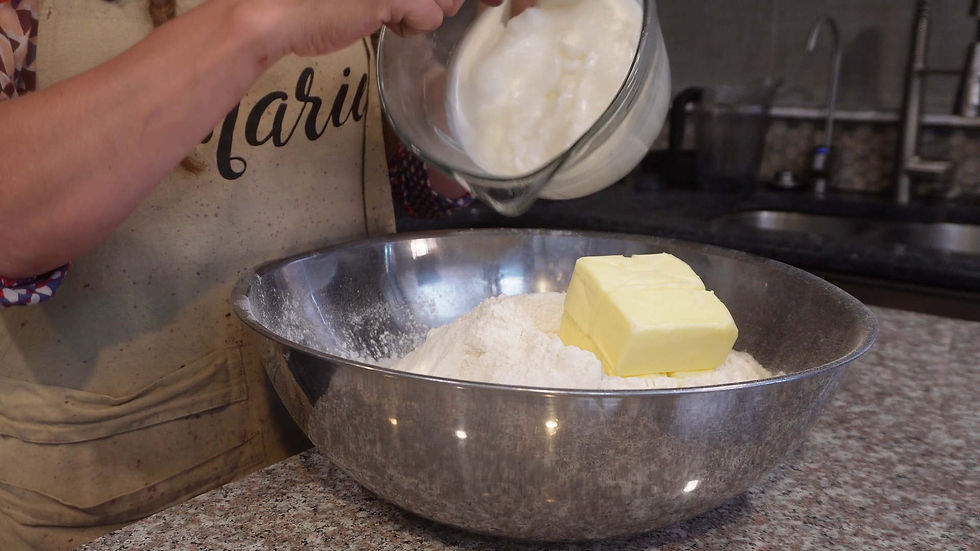
You begin by choosing a huge mixing bowl. If it is too little you will get flour all over the place. Using a pastry cutter or handheld mixer, cut in the shortening or oil with the sugar, flour and butter. You are essentially trying to break up the fats into pea-sized pieces and coat them with flour. You don’t want it completely blended in or the dough will not be flaky. Gradually add in the water until the dough sticks together well. I probably put in 1/2 to 1 cup at a time. You do not want to overwork it at this point just get it right to the point of sticking together or it will be tough and not flaky. The recipe calls for this dough to be divided into 8 balls of double pie crust.
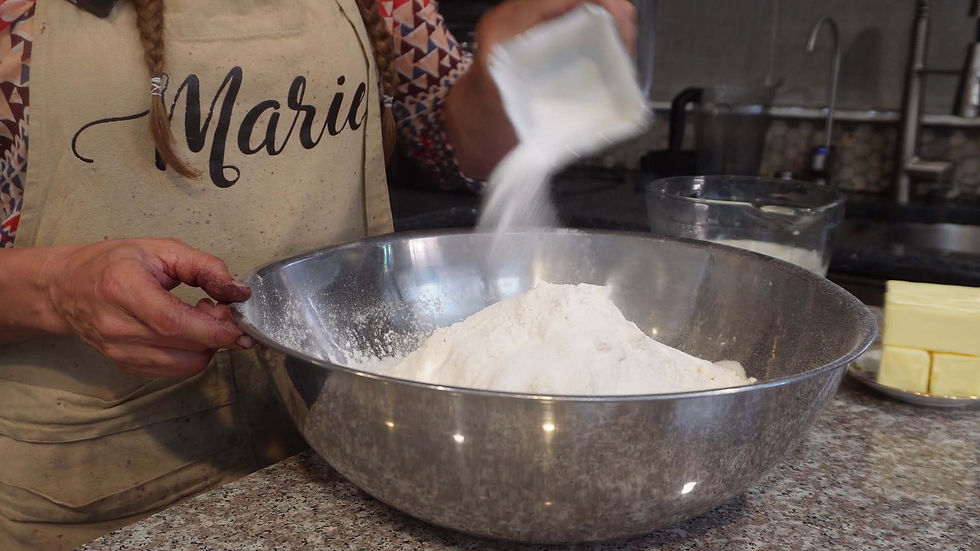
In a huge bowl combine the flour, sugar, oil and butter.
Working as little as possible, gradually add in the water until the dough sticks together well.
Divide into 8 balls.
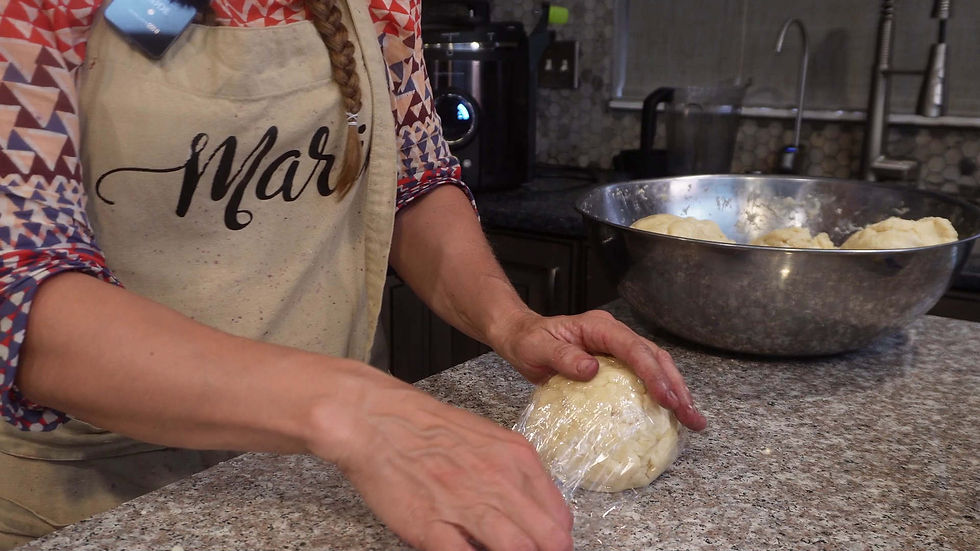
Wrap each ball in plastic wrap and then place in zip lock bags for freezer storage.
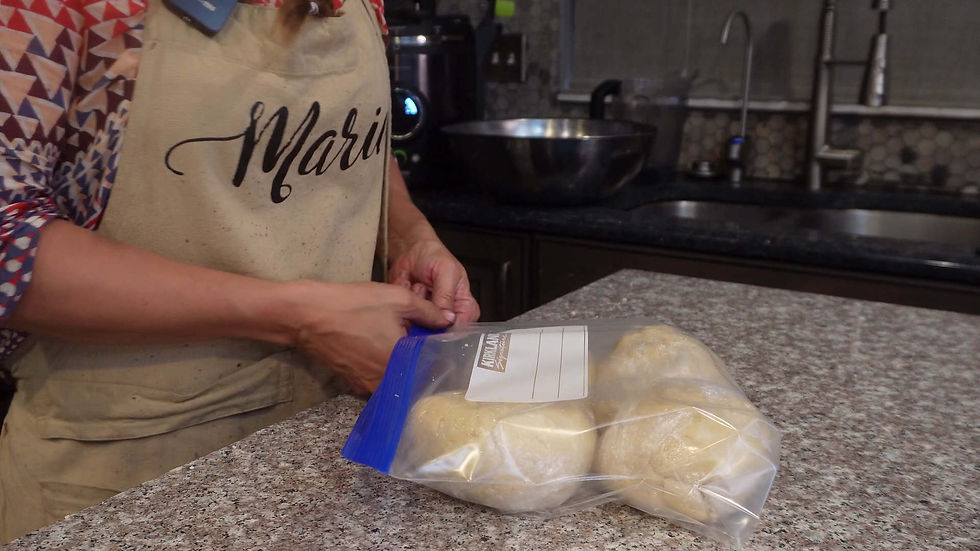
These should keep for at least 6 months.
Each ball will make one double pie crust.
Storing and Using Pie Crust
After you are done, you will want to wrap each ball in plastic wrap and then place it in Ziploc bags for freezer storage. Place them in the freezer for convenient future use. If you want them to store for even longer you can vacuum seal them and then freeze them.
Now all you have to do when you want pie crust is leave a ball on the counter to thaw for a few hours.
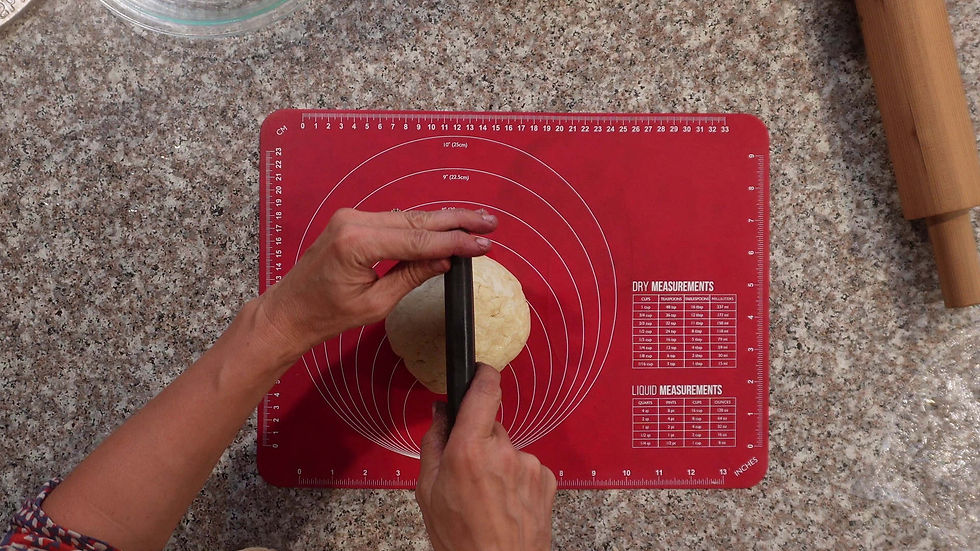
Then, cut the ball so that one side is slightly larger than the other. This will be the bottom crust.
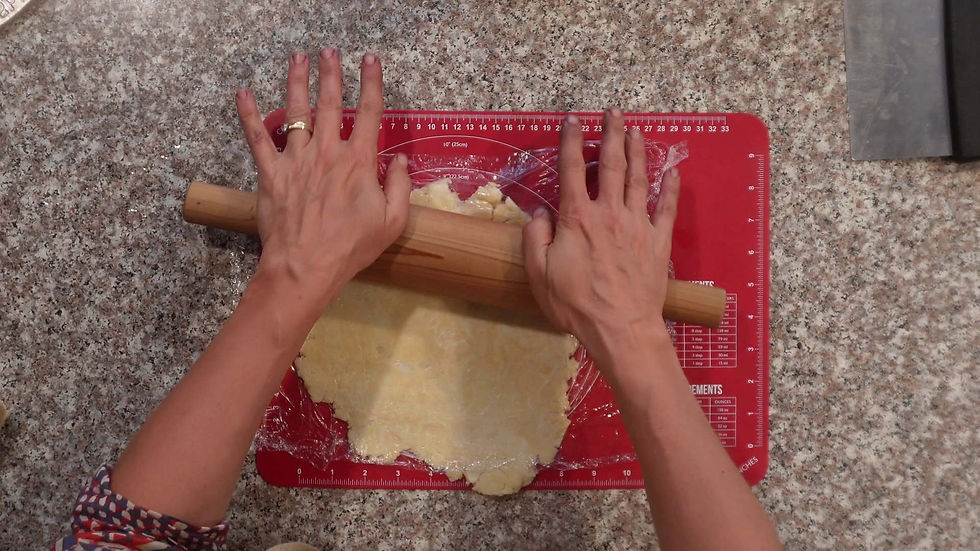
I place the plastic over the dough and then roll it out until it is 10 inches across.
Next, I work it into the pie plate. This is why the bottom needs to be slightly larger, because it covers more surface area. I add my canned filling now.

I then roll out the top crust as well. I really like the silicone mat as it makes it easier to center the crust on the pie.

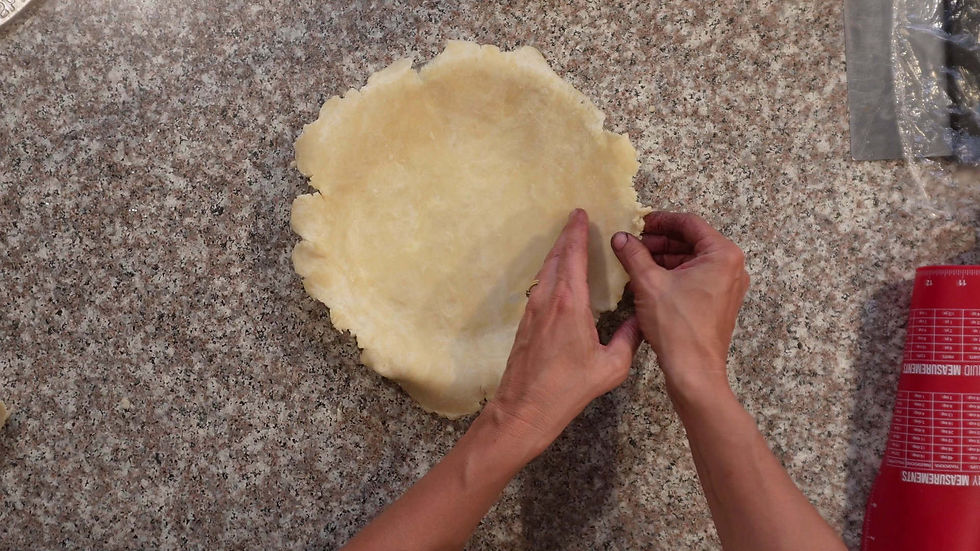
At this point, I fold the top crust around the bottom ones edges to seal it together.

I use my fingers to press them together tight.
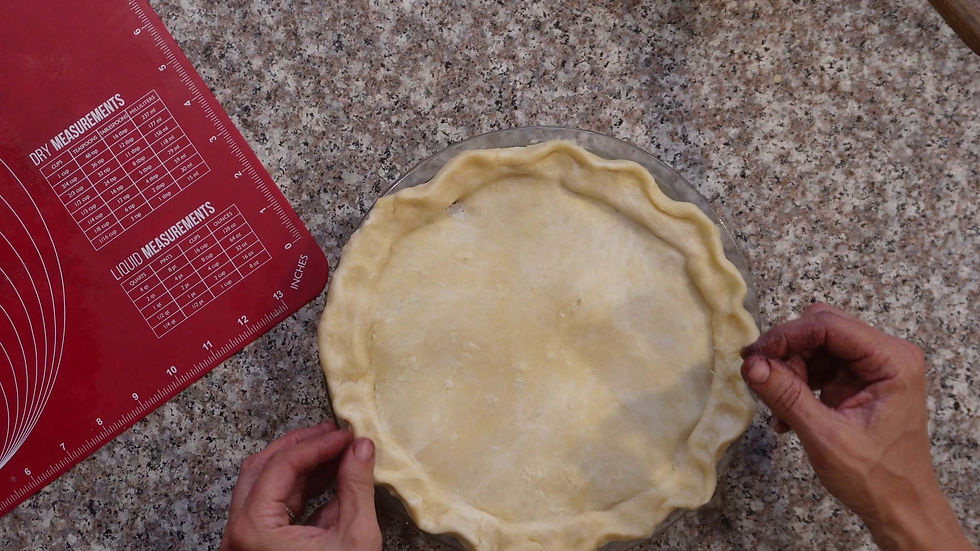
And then I add my decorative flare to the edges.

Lastly, I create a three slits in the top for vents.
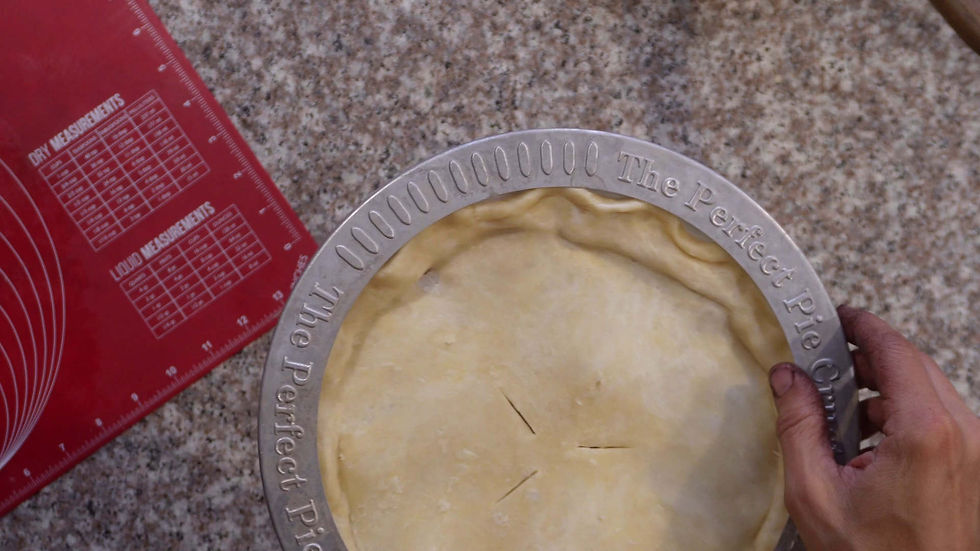
This is optional but I really like to cover the crust so it doesn't cook faster than the rest of the pie. They make crust guards like this one or you can just use foil.

I bake my pie at 350 degrees for 35-45 minutes.
Tip: I tried to defrost them in the microwave, but it is not the preferred method because it tends to melt the oils and reduces the flakiness of the pie crust.
Tip 2: Some bubbling out of filling is common during the baking process so it is a good idea to have a baking sheet beneath the pie pan to save your oven from the mess.


Comments