


How to Pressure Can Beef
- Marie Overton

- Jan 8, 2021
- 2 min read
Updated: Dec 1, 2025
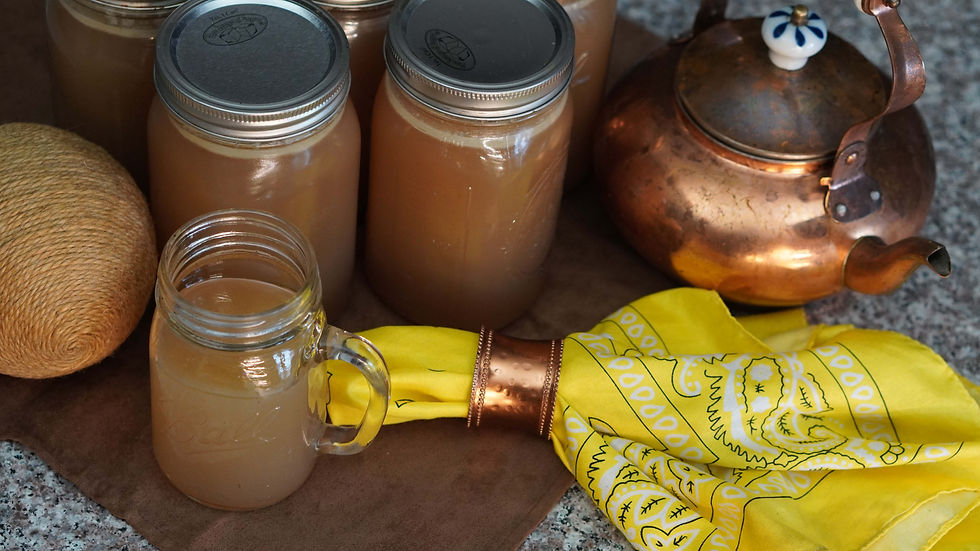
Canned beef has many reasons to recommend it. It allows you to take advantage of discounts on meat and buy in bulk, it frees up freezer space, the meat is incredibly tender and it is so convenient. It is so nice to be able to pull it out of the pantry fully cooked and use it in favorite recipes. It has been a real-time saver for our family.
Canning meat requires a little bit of preparation. You will need a pressure canner. Also necessary are lids, tongs for pulling out the lids, lid rings, clean quart jars, a long plastic utensil, salt, a teaspoon, a cutting board and a sharp knife.
Canned beef can be done with any cut but a chuck roast is often used.

Chuck Roast
Prepare the beef by removing fat and bone and slicing it into 1 inch thick strips.

Fill the quart jar with a jar funnel leaving 1 inch of head space.

Add 1 teaspoon of salt.

Pour boiling water over the salt filling the spaces between the meat. Use your plastic utensil to release any trapped air bubbles.

Place the lid on being careful not to touch the bottom of it and secure it with a lid ring to fingertip tight. Place your jars in the pressure canner and follow your manufacturer's directions for canning.
Canning Beef:

At sea level meat must be processed at 10 pounds of pressure for 90 minutes. Do not start the timer until after your target pressure has been achieved. If at any point the pressure falls below the target. The pressure must be increased and the timer restarted.

After the 90 minutes has elapsed, remove the canner from the heat and allow all pressure to dissipate before you attempt to open your canner. After the pressure has all released remove the weight and then the lid and allow it to cool for 10 minutes.

Place your jars on a heat resistant surface and allow them to cool for 24 hours.

After 24 hours, check for if the lids have sealed which should be indicated by the middle of the lid being depressed down.

Sealed Lid
Any that have not sealed should be refrigerated and used in the next 4 days. The sealed jars should be labeled with the date and stored in a cool, dry place. Home canned products are good for up to 3 years. After that point, they start to lose their nutritional value.
How to make adjustments to pressure canning based on altitude:
Barometric pressure is reduced at high altitudes, affecting the temperature at which water boils. This means boiling-water and pressure canning methods must be adjusted to ensure safe processing. When using the pressure canning method of canning, additional pounds of pressure is required. The following altitude chart gives the requirements.


Comments