Introduction to Using a Boiling Water Bath Canner; Canning Basics
- Marie Overton

- May 17, 2021
- 3 min read
Updated: Jan 3
Boiling water bath canning is the easiest way to make shelf-stable pantry items at home. A boiling water canner heats jars to 212 degrees Fahrenheit, hot enough to kill microorganisms found in high-acidic foods.
What is a boiling water bath canner?
A boiling water bath canner is simply a very large pot with a rack in the bottom and a lid on the top. The rack allows water to flow beneath the jars for even heating and protects the jars from the direct heat on the bottom. Some racks even have handles that allow you to easily lower and raise jars in and out of the hot water. Water bath canners come in different styles, sizes and finishes.
The simple process of using a boiling water bath canner is that jars are filled with your favorite acidic pantry recipes and submerged in water and brought to a rolling boil (212 degrees F) for a specific length of time.
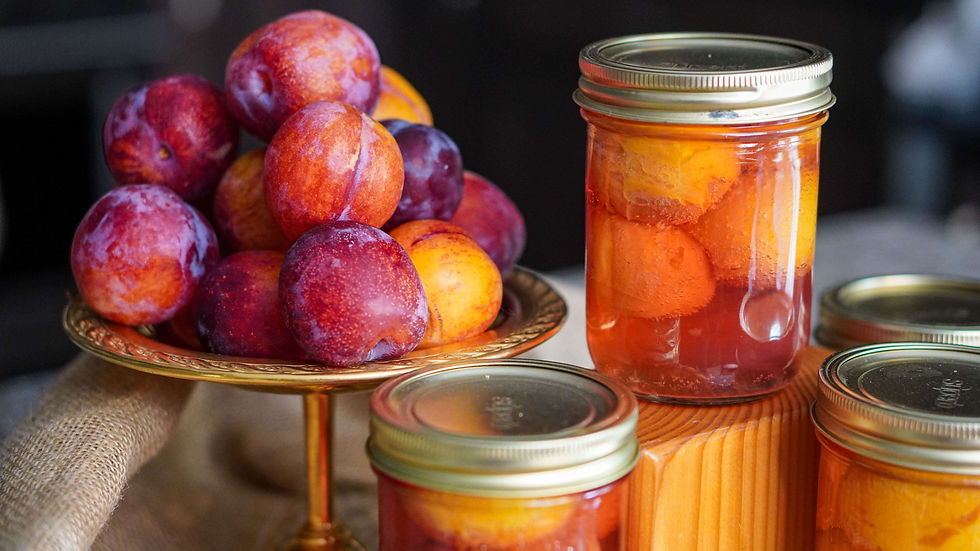
This method of food preservation is used mainly for fruits, pickles, salsa, and other high-acid foods.
Parts:
The boiling water bath is a pretty simple piece of equipment. The parts of a boiling water bath are the pot, the lid and the jar rack.
Hack:
If for some reason you do not have the jar rack you can place jar rings on the bottom of the pot to keep the direct heat away from the jars.
Preparing Your Boiling Water Bath Canner, Filling Jars, and Processing Jars:
I like to prepare my canning equipment while the recipe I am making is cooking. Don’t neglect what you are making, be sure to stir occasionally so it does not burn. If you don’t multi-task well then you should prepare your canning equipment ahead of time.
The first step is to heat your jars using a moist heat.
I use two different methods to heat up my jars.
Place them in the dishwasher on high heat. (My favorite option.)
Place them in boiling water.
Fill your water bath canner half full with water and place it on the stove on low to begin heating. Do not let it get too hot, just warm it up.

Gather your ladle, jar lifter, chopsticks, clean cloth, and any other needed supplies for canning.
Prepare your recipe of choice.
Fill your jars with a jar funnel leaving the appropriate amount of headspace to match your recipe. Use a chopstick to remove any air bubbles.
If you spilled on the edge or rim of the jar, use a clean cloth to wipe the rim clean.
Place the lid on top of the jar and add the ring. Tighten the ring to fingertip tight.
Process in a boiling water bath submerged by 1-2 inches of water for the stated recipe time if at sea level. Remember to adjust your processing time if you are above 1000 feet in elevation.

Once your jars have completed processing, remove the lid, turn off the heat and allow the jars to cool for 5 minutes. Then, use the jar lifter to remove them from the boiling water bath canner. Space the jars about an inch apart on a heat resistant surface for 24 hours to cool and completely seal.
You can tell the jar is sealed if the center of the lid is depressed down. If sealed, remove the ring and wash off the outside with warm soapy water. Remember to label and date the jar.
If your jar did not seal, then place it in the refrigerator and use it immediately.
Store the sealed jars in your pantry to enjoy for the next 1-3 years. After three years the nutritional value of canned food diminishes. The quality is best during the first year.


Comments