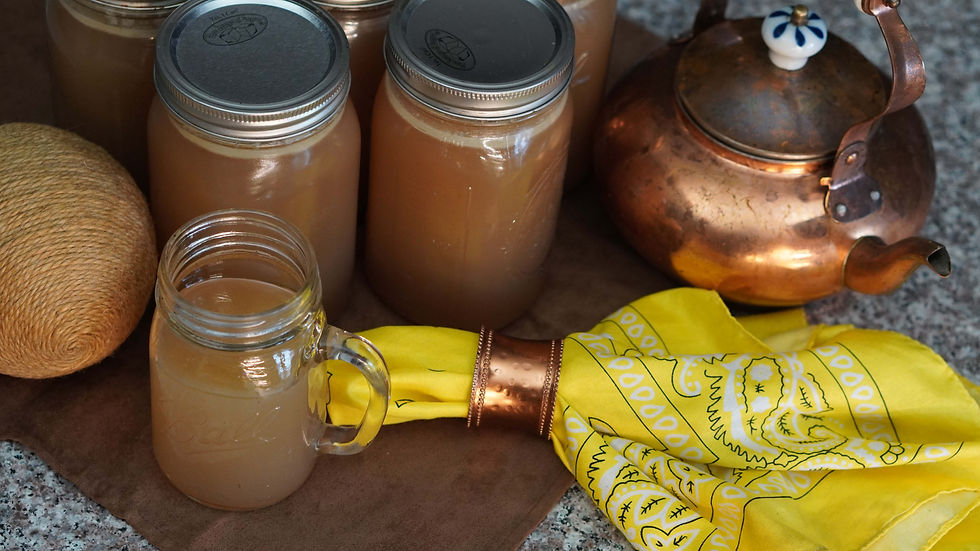
Making and Canning Beef Broth
- Marie Overton

- Nov 15, 2025
- 4 min read
Making beef broth is a good way to use every part of the beef. This approach not only reduces waste but also provides a rich, flavorful base for soups, stews, and sauces. Canning your homemade beef broth allows you to preserve it for future use.
Why Make Your Own beef Broth?
Creating your own beef broth is not just budget-friendly; it’s also a healthier choice compared to store-bought options. You control the ingredients, which means no preservatives or artificial flavors. In fact, homemade broth can contain up to 50% less sodium than many commercial varieties.
Ingredients You'll Need
To make a rich and flavorful beef broth, gather the following ingredients:
Beef bones
Water (around 3-6 gallons, depending on pot size)
Equipment Required
Before you start, ensure you have the following equipment ready:
A strainer or cheesecloth
Canning jars (quarts)
A pressure canner (for safe canning)
Step 1: Prepare the beef bones
Remove any large pieces of meat, but don’t stress about getting every last bit. Place the soup bones in a large stockpot or roasting oven.

Step 2: Add Vegetables and Herbs(optional)
You can either make a basic broth or you can add vegetables and herbs to it. If you wanted to you would add them now, You would add chopped carrots, celery, onion, and/or garlic to the pot. Toss in any fresh herbs and season with salt and pepper. This combination can enhance the flavor of your broth, making it rich and aromatic.
Step 3: Cover with Water

Fill your pot with enough water to cover the beef bones by at least 2-3 inches. I will typically use about 4 gallons of water in my 28 quart roasting pan.
Step 4: Simmer the Broth
Bring the pot to a boil over medium-high (250 degrees) heat. Let it simmer for at least 24 hours. The longer you simmer, the more flavor you’ll extract. Studies show that simmering broth for 72 hours pull out the most beneficial nutrients from the bones.
Step 5: Strain the Broth

After simmering, it’s time to strain the broth. Use a strainer or cheesecloth to separate the liquid from the solids. Discard the bones and vegetables, as they will have given all their flavor to the broth. I like to give mine to the dogs. The extended cooking times softens the bones to a point that the dogs can handle them.
Step 6: Skim Fat

You’ll notice a layer of fat that floats on top. You'll want to skim this off for a leaner broth. I usually give it to my barn cats or add it in my dog's food. You can even render it down into a tallow.
Step 7: Prepare for Canning
Before you start canning, ensure your jars are clean and hot. You can do this by running them through a dishwasher.
Step 8: Fill the Jars

Using a ladle and funnel, fill your quart jars with the beef broth, leaving 1 inch of headspace at the top. This space is crucial for the canning process, allowing for expansion during sealing.
Step 9: Seal the Jars
Wipe the rims of the jars with white vinegar on a clean cloth to remove any oily residue. Place the canning lids on top and screw on the rings until they are fingertip-tight. This ensures a proper seal without over-tightening.
(For quality, American made Superb canning lids and jars follow this link and use the coupon code WP20 to get 20% off your purchase.)
Step 10: Pressure Can the Broth
Place the filled jars in a pressure canner. Follow the manufacturer’s instructions for your specific canner, but generally, process the jars at 10 pounds of pressure for 25 minutes if you are at sea level. If you need to know how altitude affects the amount of pressure you process your jars at check out my canning basics video/post.

Step 11: Cool and Store
After the processing time is complete, turn off the heat and let the canner cool down naturally. Once the pressure is down to zero, remove the weight and then the lid and allow them to cool for 10 minutes. Next, carefully remove the jars and place them on a heat resistant surface about 1-2 inches apart. Allow them to cool 24 hours before removing the ring, washing off the outside with warm soapy water and storing them in a cool, dark place.
Tips for Success

Use Quality Ingredients: The quality of your ingredients directly affects the flavor of your broth. Fresh vegetables and herbs yield a more vibrant result.
Experiment with Flavors: Feel free to add additional ingredients like mushrooms or leeks to customize your broth to your liking.
Label Your Jars: Don’t forget to label your jars with the date and contents. This helps you keep track of when you made your homemade broth.
Embrace the Art of Broth Making
Making and canning beef broth is a rewarding process that not only helps reduce waste but also provides you with a delicious and versatile ingredient for your kitchen. With just a few simple steps, you can create a rich, flavorful broth that will enhance your meals for months to come.


Comments