


How to Make Homemade Sauerkraut in Mason Jars
- Marie Overton

- Jan 10, 2022
- 3 min read
Updated: Aug 29
Every year I have an abundance of cabbage. Well, what do you do when your garden gives you too much cabbage? You make sauerkraut! And, you do it the easy way, in bulk, using one of my favorite things, Mason Jars. My family has a heritage that makes this Sauerkraut-making process especially special. You see, my great grandparents owned a German delicatessen in upstate New York. What better recipe than the one used at an authentic German deli.
Sauerkraut is often one of the first fermentation projects new fermenters try. It’s easy to guess why. Sauerkraut is super easy to make, it requires very little equipment, and the results are delicious.
My grandmother used Mason Jars to make the process even simpler than using a crock. Mason jars are uniquely useful in this process because you can make a HUGE batch of sauerkraut all at once.
Brat’s anyone?
The chemistry behind making sauerkraut is that the salt begins to break down the cabbage so it releases liquid, creating its own brining solution. Submerged in this liquid for a period of several weeks, the cabbage slowly ferments into the crunchy, sour condiment we know and love as sauerkraut.
Ingredients and Equipment to Make Homemade Sauerkraut in Mason Jars:
6 pounds of Cabbage (shredded)
1/4 cup non iodized Salt.
Cabbage Preparation:
Peel off any wilted or damaged cabbage leaves.

Cut out the cabbage core and any bad spots of the cabbage.

Shred the cabbage with a mandolin slicer or cutting it with a sharp knife into thin strips.
Massage Sauerkraut:
Place all of the shredded cabbage into a large bowl.
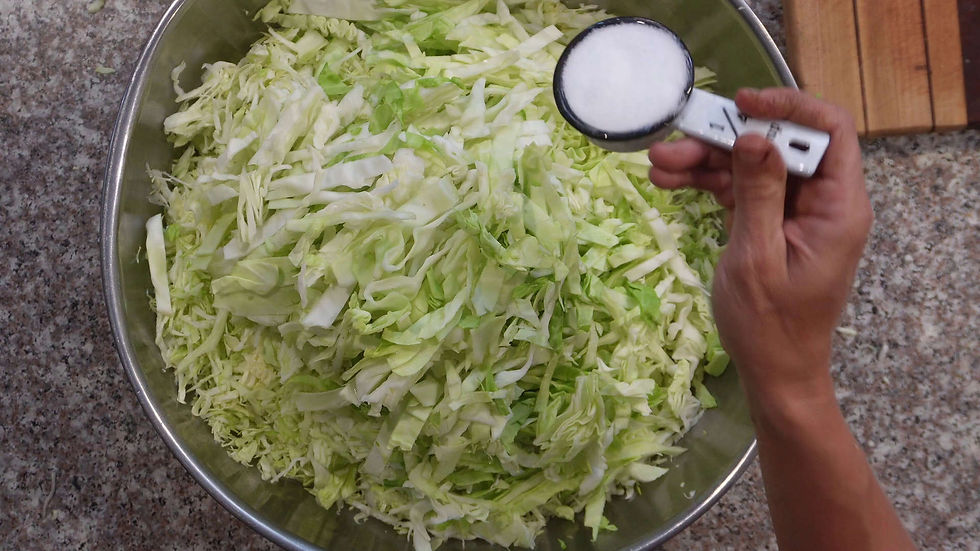
Add salt

Massage cabbage for 15 minutes to bruise and begin to get the juices flowing.
Filling Your Mason Jars:

Press the cabbage and salt mixture along with the liquids into your Mason Jars. Use a tamper or a sauerkraut pounder to pack it in as tight as possible.
Make sure there is liquid brine above the cabbage.

Loosely place on lids and rings and set the jars on a baking sheet or in a small washtub so when the juices expand and overflow they will be caught on the tray.
6 pounds of cabbage should fill about 3 quart mason jars.
Monitoring the Homemade Sauerkraut in Mason Jars;
Also, check for mold which looks like white fuzzy particles floating on the surface. If you see any skim it off and dispose of it.
Canning the Homemade Sauerkraut:
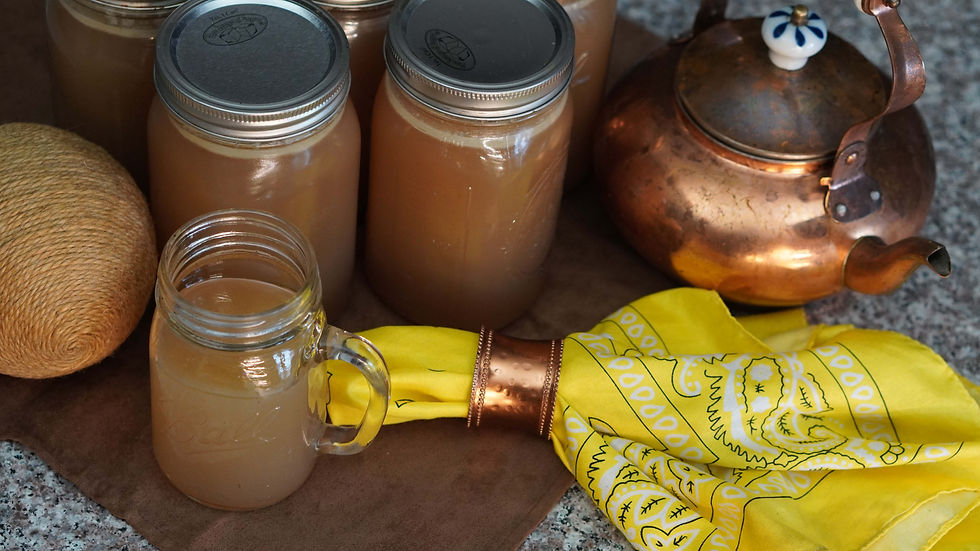
Once your sauerkraut has completed its fermentation process you can either place it in the fridge for immediate consumption (Good for 6 months to 1 year.) or you can preserve it by canning it. Because I made the sauerkraut in the Mason Jars in the first place this couldn’t be simpler.

The Sauerkraut should have a 1/2 inch headspace when canning. If your liquid is lower than this level then just add a little water to “top it off”.
Fill your water bath canner with tepid water.
Place your jars into the tepid water. Remember, our jars and contents are room temperature at this point so we cannot place them into a hot water bath without the risk of breaking our jars.
Wipe the rims of the jars with a clean cloth to eliminate any residue.
Place the lids on top of each jar and screw the metal bands until they are fingertip-tight. (For quality, American made Superb canning lids and jars follow this link and use the coupon code WP20 to get 20% off your purchase.)
Process the sauerkraut in a boiling water bath canner for 20 minutes if at sea level. (Remember to adjust your processing time if higher than 1000 feet elevation.
After processing, allow to cool in the water bath with the heat off and the lid removed for 5 minutes.

Take the jars out and set them on a heat resistant surface about 1-2 inches apart for 24 hours to cool and completely seal.
If your jar of sauerkraut did not seal then place it in the fridge and use it immediately. Store the sealed jars in your lovely pantry to enjoy for the next 1-3 years. After three years the nutritional value of canned food diminishes.
If you have any questions about canning with the boiling water canner or how to adjust the pressure or processing time for altitude, take a look at our canning basics videos.


Thank you for this. The jars work for me because I do small batches in smaller jars. I also wanted to waterbath can fire cider right after fermenting.