


Spicy Chili Sauce
- Marie Overton

- Apr 8, 2022
- 2 min read
Updated: Aug 19
This spicy chili sauce bursts with delicious flavor. I love adding sauces to my meats at dinner. Adding this chili sauce really adds pizzazz to your meat. Not only does it increase the flavor and appearance of the meal it also adds more vegetables. As a mother of a large family, I am always looking for more ways to sneak vegetables into my kid’s diet so this is a good thing. I really like this spicy chili sauce on red meats like roast beef but it is also very tasty on white fish as well.

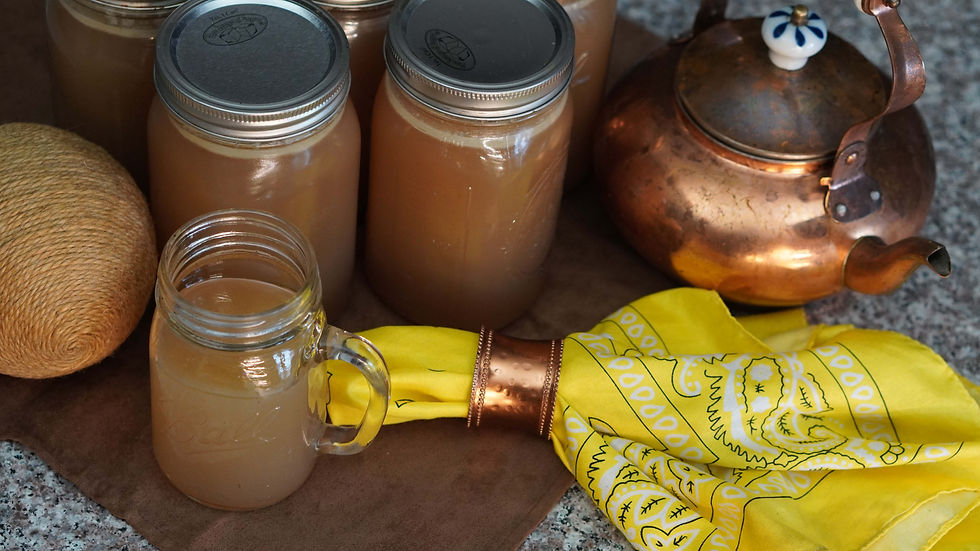
Spicy Chili Sauce
This recipe makes approximately 7 pints of Spicy Chili Sauce.
Ingredients to make Spicy Chili Sauce:

13 pounds quartered Tomatoes

2 chopped Onions

2 chopped Red Peppers
1 tsp Chipotle Pepper Powder
1 cup Sugar
3 tbsp Pickling Spice in a spice bag
3 tbsp minced Garlic
3 tbsp Salt
1 tbsp Celery Seed
1 tbsp Mustard Seed
2 c Vinegar
Prepare and Cook:
Soften the tomatoes by simmering for about 20 minutes.

Process the soft tomatoes through a food mill. Place the pulp in a strainer (I like my husband’s honey strainer) or cheesecloth to drain out the juice. Save the juice to be canned later. This step of straining the sauce allows you to skip the reducing down process which usually takes about 3 hours to do. If for some reason the sauce seems too thick you can add some of the juice back in.

Place the strained pulp in a large saucepot and add the rest of the ingredients.

Simmer for 20 minutes or until the vegetables are soft. Continue to simmer until the spicy chili sauce is your desired thickness.

Remove the spice bag.
Canning Spicy Chili Sauce:

Using a jar funnel, fill the jars leaving 1/2-inch headspace. Place the lids on top of each jar and screw the metal bands until they are fingertip-tight. (For quality, American made Superb canning lids and jars follow this link and use the coupon code WP20 to get 20% off your purchase.)
Place the jars in a boiling water bath canner, ensuring they are covered with at least an inch of water. Bring the water to a boil and process the jars for 15 minutes. (Adjust the processing time if you are above 1000 feet.)
After processing, allow to cool in the water bath with the heat off and the lid removed for 5 minutes.

Remove jars from the canner and let them cool on a heat resistant surface about 1-2 inches apart so they can cool a little faster.
If your jar did not seal, then place it in the fridge and use it immediately. Store the sealed jars in your pantry to enjoy for the next 1-3 years. After three years the nutritional value of canned food diminishes. The quality is best in the first year.

If you have any questions about canning with a pressure canner or how to adjust the pressure or processing time for altitude, take a look at our canning basics videos.


Comments